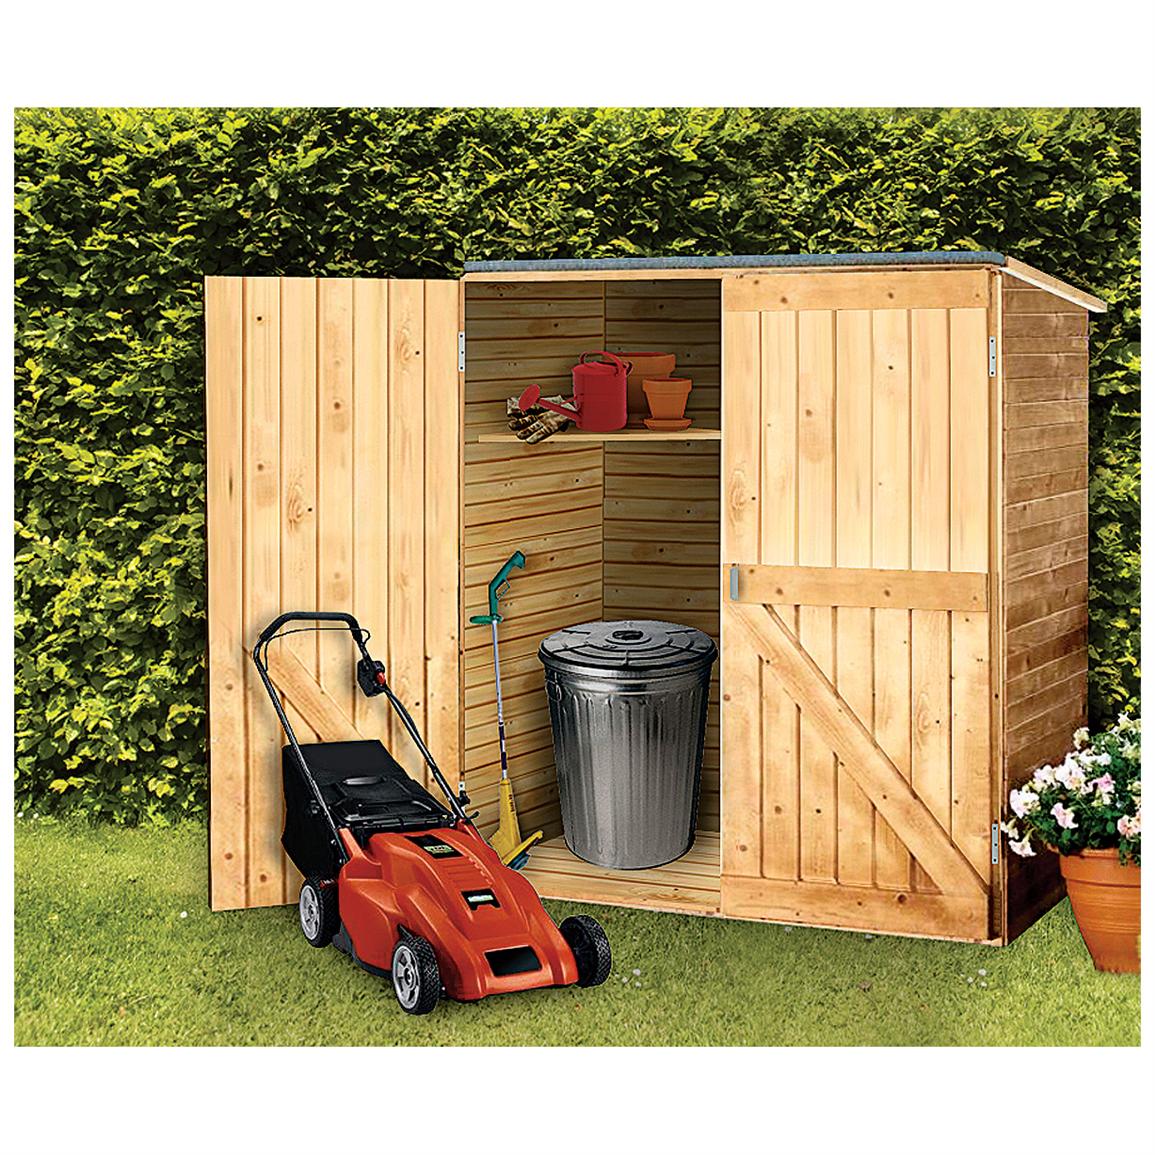
Building a shed can be a rewarding project, providing you with valuable storage space for tools, gardening supplies, and outdoor equipment. One critical aspect of constructing a shed is ensuring its security and functionality, which largely depends on the proper installation of latch hardware. This guide will walk you through the steps necessary to install shed latch hardware like a pro, ensuring your shed remains secure and accessible.
Understanding Shed Latch Hardware

Before diving into the installation process, it’s essential to familiarize yourself with the different types of latch hardware available. Each type serves specific needs and provides varying levels of security.
- Slide Bolt Latches: Simple and effective, these latches slide into a catch to secure the door. They are ideal for lightweight doors.
- Padlockable Latches: These allow you to secure your shed with a padlock, providing an extra layer of security.
- Spring Bolt Latches: Automatically engage when the door closes, making them a convenient choice for quick access.
- Hasp and Staple Latches: Consist of a flat metal piece that secures with a padlock, suitable for larger doors.
Essential Tools and Materials
To successfully install shed latch hardware, you’ll need the right tools and materials. Here’s a comprehensive list:
- Drill with drill bits
- Screwdriver (flathead and Phillips)
- Level
- Measuring tape
- Chisel (for mortising if necessary)
- Pencil for marking
- Safety goggles
- Latch hardware kit (includes latch, screws, and any additional components)
Preparation Steps Before Installation
Proper preparation can significantly affect the installation process. Follow these steps to ensure a smooth experience:
- Choose the Right Location: Determine where on the door the latch will be installed. Typically, latches are placed about 54 inches from the bottom, allowing for easy access.
- Check Door Alignment: Make sure your shed door is properly aligned and swings freely. Misalignment can lead to difficulties in closing and securing the latch.
- Gather Your Materials: Ensure you have all tools and latch hardware at hand to avoid interruptions during installation.
Installation Steps: A Step-by-Step Guide

Now that you’re prepared, let’s go through the installation process step-by-step.
Step 1: Mark the Latch Position

Using a measuring tape, find the desired height for your latch. Mark the position with a pencil. If you’re using a padlockable latch, ensure there is enough space for the lock.
Step 2: Drill Pilot Holes
Using a drill, create pilot holes for the screws. This step is crucial as it prevents the wood from splitting. If you’re installing a slide bolt latch, drill a hole for the bolt as well.
Step 3: Install the Latch Plate
Align the latch plate with the pilot holes and secure it using screws. Make sure it’s level, as this will ensure smooth operation.
Step 4: Install the Catch

For slide bolts, install the catch on the door frame. Ensure it aligns with the bolt. Use your level to double-check alignment.
Step 5: Test the Latch
Close the door and engage the latch to ensure it operates smoothly. Make any necessary adjustments if the latch does not engage properly.
Step 6: Finalize Installation
Once you’re satisfied with the latch operation, tighten all screws securely. Ensure that all components are firmly attached, and there are no loose parts.
Tips for a Professional Finish
To achieve a professional look and functionality, consider the following tips:
- Use Quality Hardware: Invest in high-quality latch hardware to ensure durability and longevity.
- Maintain Consistency: If you have multiple sheds or doors, consider using the same style of latch for consistency.
- Regular Maintenance: Periodically check your latch for wear and tear, and lubricate moving parts to keep them functional.
Common Mistakes to Avoid
Even seasoned DIYers can make mistakes. Here are common pitfalls to avoid during installation:
- Incorrect Measurements: Always double-check your measurements before drilling to avoid misalignment.
- Neglecting the Level: Failing to use a level can result in latches that don’t function properly.
- Over-tightening Screws: This can strip the wood or damage the latch, compromising its effectiveness.
Case Studies: Successful Shed Latch Installations
Let’s take a look at some real-world examples of successful shed latch installations:
- Case Study 1: A homeowner in Oregon installed a slide bolt latch on their outdoor shed, ensuring security for gardening tools. They reported that the project took less than an hour and significantly improved access control.
- Case Study 2: A DIY enthusiast in Texas replaced a rusty hasp and staple latch with a modern padlockable latch, enhancing the security of their shed. They highlighted the importance of using a quality latch, stating it provided peace of mind.
Installing shed latch hardware may seem daunting, but with the right tools, preparation, and knowledge, you can achieve a professional result. Remember to familiarize yourself with different types of latches, prepare your workspace, and follow the step-by-step installation process closely. By avoiding common mistakes and applying the provided tips, you can enhance the security and functionality of your shed. A well-installed latch not only secures your items but also adds to the overall aesthetic of your shed. So gear up, gather your materials, and get ready to lock in your shed security like a pro!