In the world of home improvement, small changes can lead to significant transformations. One such modification is the installation of finger pulls on closet doors. These sleek, functional hardware pieces not only enhance the aesthetic appeal of your space but also provide convenience and ease of use. In this comprehensive guide, we will walk you through the process of choosing, installing, and maintaining finger pulls on your closet doors, ensuring a successful DIY project.
What Are Finger Pulls?
Finger pulls are minimalist hardware pieces that allow users to open cabinet and closet doors with ease. Unlike traditional knobs or handles, finger pulls are typically recessed into the door, offering a clean, unobtrusive look. They come in various materials, sizes, and designs, making them suitable for different styles of homes and closets.
Benefits of Installing Finger Pulls
There are several advantages to opting for finger pulls over more conventional door hardware:
- Aesthetics: Finger pulls provide a modern, streamlined look that can blend seamlessly with various design themes.
- Space-Saving: Their recessed design minimizes protrusion, making them ideal for tight spaces or minimalist designs.
- Ease of Use: Finger pulls allow for a comfortable grip, making it easy to open and close doors without twisting or turning knobs.
- Increased Durability: Many finger pulls are made from robust materials like stainless steel, ensuring they withstand daily wear and tear.
Choosing the Right Finger Pulls
Before diving into the installation, it’s crucial to select the right finger pulls that suit your closet doors. Here are some factors to consider:
- Material: Consider options like stainless steel, brass, or plastic. Stainless steel is durable and rust-resistant, while brass offers a classic touch.
- Size: Measure the width of your closet door to ensure you select a pull that fits proportionately.
- Style: Choose a design that complements the overall decor of your space. Options range from sleek modern designs to more intricate traditional styles.
- Finish: Consider finishes such as brushed, polished, or matte, which can significantly impact the overall look of your closet.
Tools and Materials Needed
Gathering the right tools and materials is essential for a smooth installation process. Here’s a checklist of what you’ll need:
- Finger pulls (ensure you have enough for all doors)
- Measuring tape
- Pencil
- Drill and drill bits (for wood or metal)
- Screwdriver (flat and Phillips head)
- Wood filler (optional, for covering old hardware holes)
- Sandpaper (optional, for smoothing surfaces)
- Safety glasses and gloves
Step-by-Step Installation Process

Now that you have selected your finger pulls and gathered your tools, it’s time to install them. Follow these steps for a successful installation:
Step 1: Prepare Your Closet Doors

Start by clearing out your closet and removing any existing handles or knobs. If you are replacing old hardware, fill in any holes left behind with wood filler and sand the area smooth once it dries.
Step 2: Measure and Mark
Using your measuring tape, determine the ideal height for your finger pulls. A common height is between 36 to 48 inches from the floor, depending on the average height of users. Mark the position with a pencil.
Step 3: Drill the Holes
Using a drill and an appropriate-sized drill bit (typically slightly larger than the finger pull’s mounting screws), carefully drill holes at the marked locations. Ensure you drill straight to avoid misalignment.
Step 4: Install the Finger Pulls
Align the finger pulls over the drilled holes. Insert and tighten the screws using a screwdriver. Be cautious not to overtighten, as this can damage the door.
Step 5: Test Functionality

Once all finger pulls are installed, test them by opening and closing the doors. Ensure they operate smoothly and are securely attached.
Case Studies: Successful Finger Pull Installations

To illustrate the impact of finger pulls, let’s explore two case studies:
Case Study 1: Modern Apartment Revamp
In a mid-century modern apartment in downtown Chicago, a homeowner replaced bulky cabinet handles with sleek finger pulls. The result was a cohesive design that enhanced the open-concept layout, making the space feel larger and more inviting.
Case Study 2: Family Home Renovation
:max_bytes(150000):strip_icc()/SPR-small-closet-storage-ideas-7487305-HERO-a698017815d64fdca158a35b60d66b90.jpg)
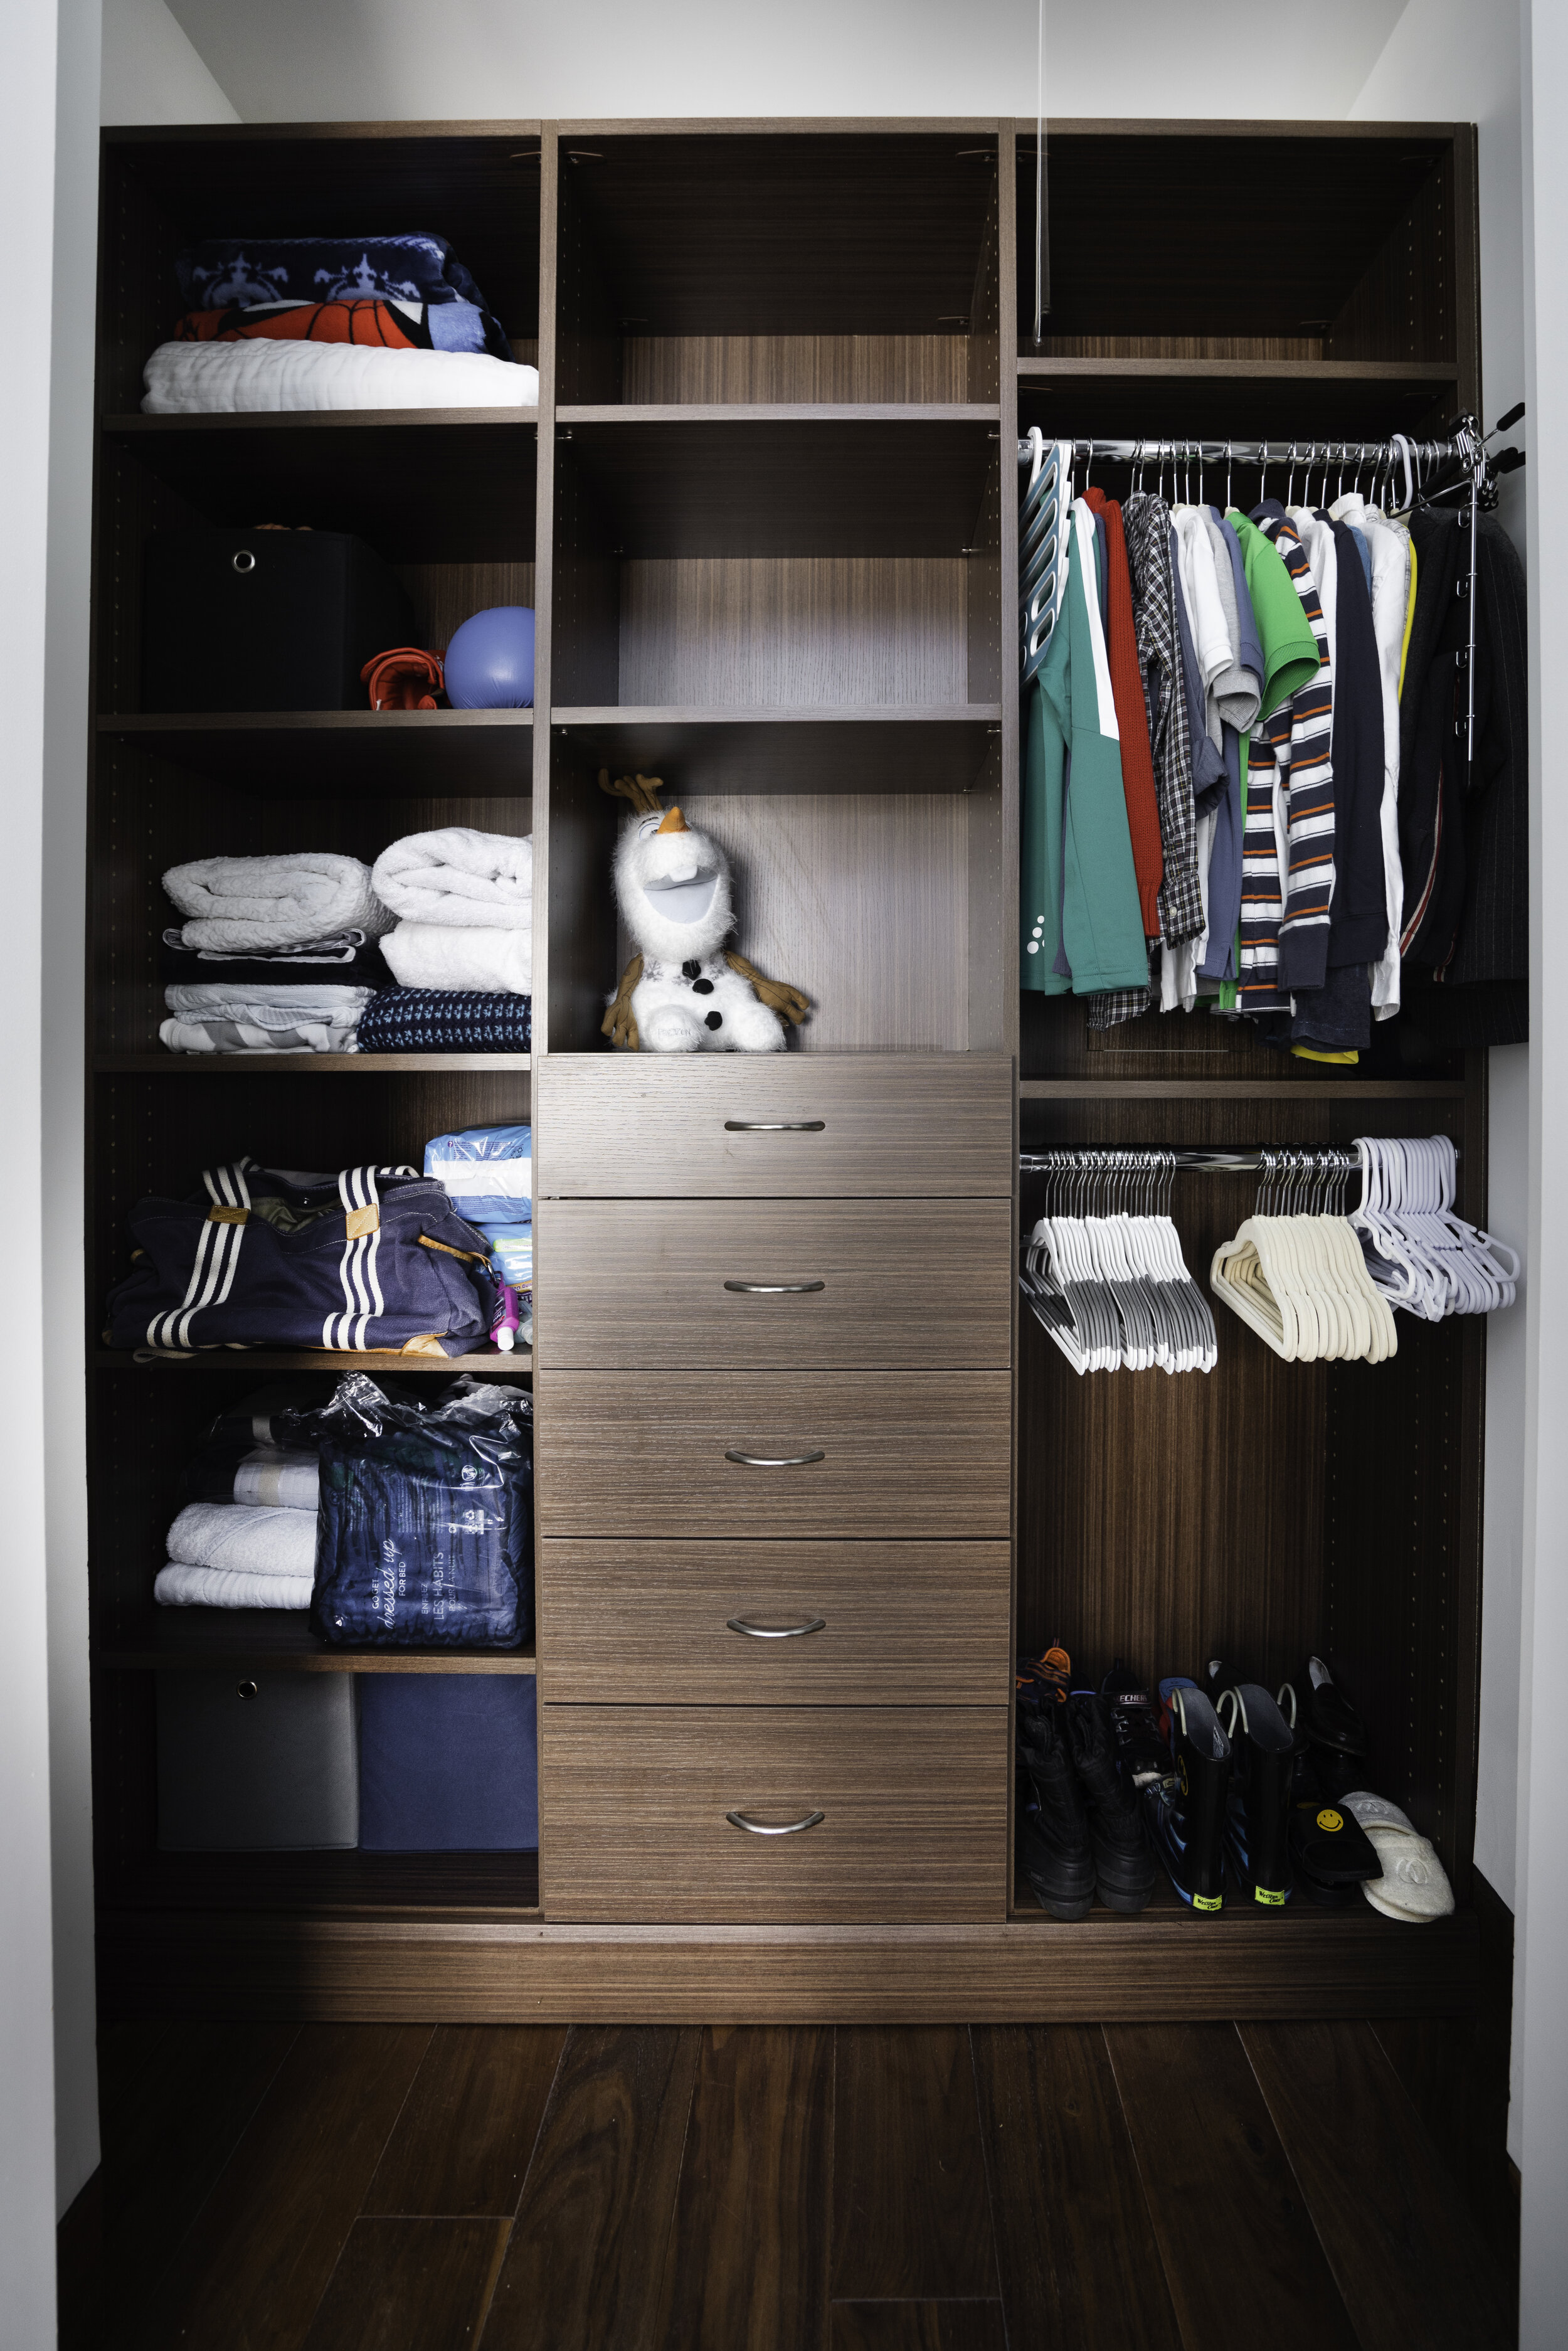
In a suburban family home, finger pulls were installed on closet doors in the children’s rooms. The recessed design allowed for easy access while keeping the rooms clutter-free. The parents noted an increase in their children’s ability to organize their belongings independently.
Maintenance Tips for Finger Pulls

To ensure your finger pulls remain functional and visually appealing, follow these maintenance tips:
- Regular Cleaning: Wipe down with a damp cloth to remove dust and grime.
- Inspect for Loose Screws: Periodically check to ensure screws are tightened to prevent loosening.
- Avoid Harsh Chemicals: Use mild cleaners to avoid damaging the finish of your finger pulls.
Installing finger pulls on your closet doors is a straightforward and rewarding DIY project that can elevate the functionality and style of your space. By carefully selecting the right pulls, preparing your doors, and following the installation steps outlined in this guide, you can achieve a polished look that enhances your home’s overall design. With proper maintenance, your finger pulls will serve you well for years to come, making your closet not only more accessible but also more aesthetically pleasing. Take the plunge into this DIY project and enjoy the benefits that come from your hard work!