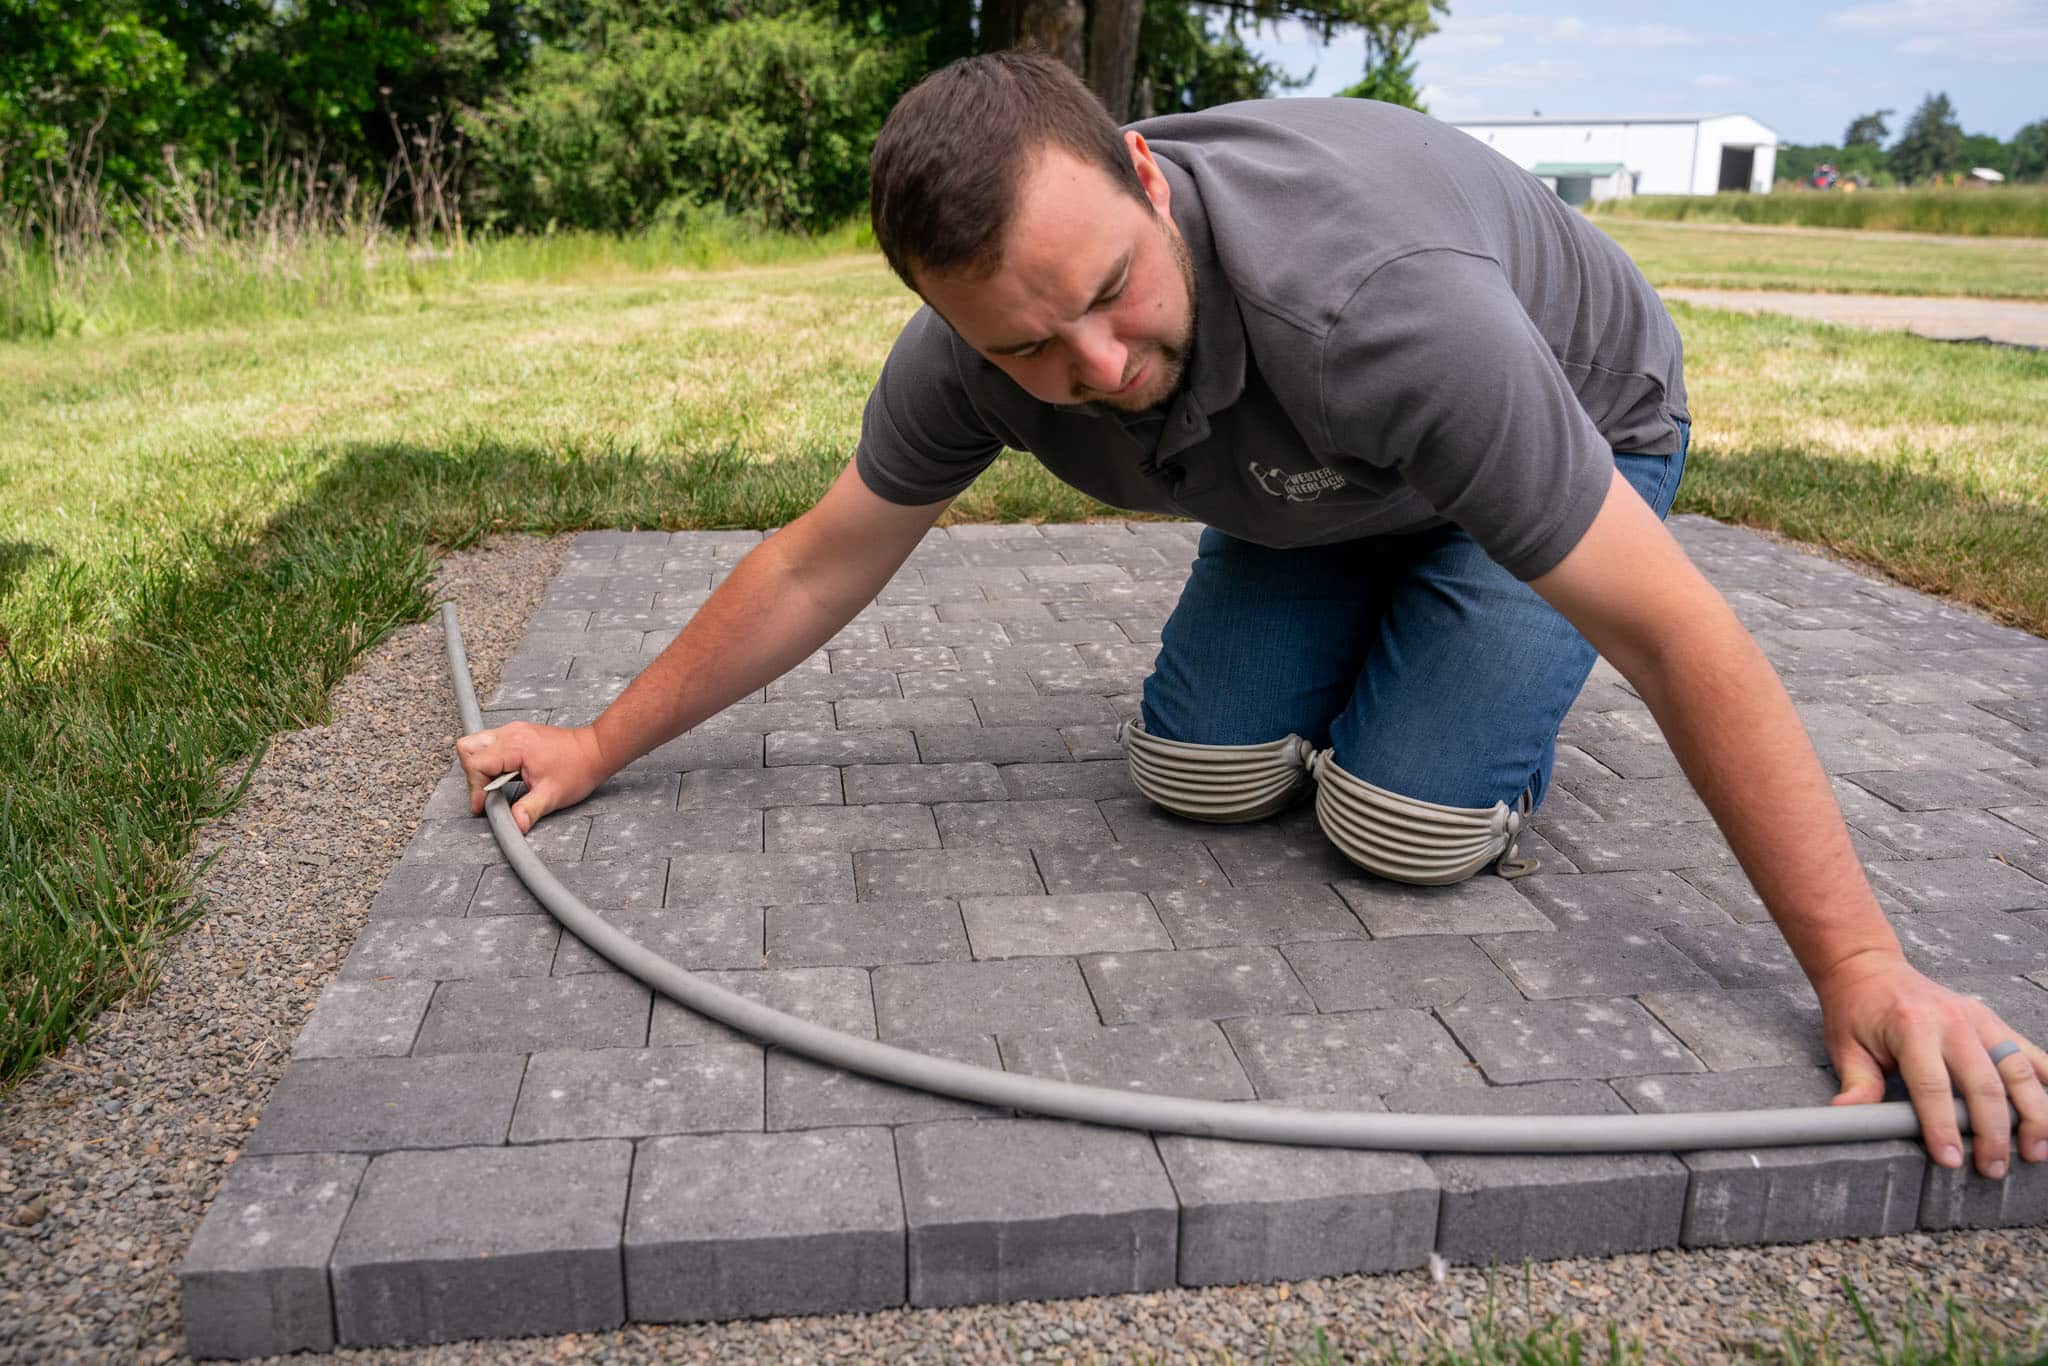
Pavers. Those beautiful, durable stones that add so much curb appeal to your driveway, patio, or walkway. But like anything outdoors, they get dirty. Leaves, mud, oil stains, algae – the list goes on. So how do you tackle this cleaning challenge and restore your pavers to their former glory? The answer is often more involved than a simple hose-down. This comprehensive guide will walk you through the process of scrubbing pavers, covering everything from choosing the right tools to mastering the cleaning techniques.
Why Clean Pavers?

Beyond the obvious aesthetic improvements, cleaning your pavers offers several crucial benefits. Regular cleaning prevents the buildup of grime, which can lead to:
- Damage to the pavers themselves: Persistent stains and algae can etch the surface, dulling their color and potentially causing long-term damage.
- Increased slipperiness: Mold and mildew can create a hazardous environment, making your walkways slippery and prone to accidents.
- Weed growth: Dirt and debris trapped in the crevices provide a breeding ground for unwanted weeds, disrupting the clean lines of your paving.
- Reduced property value: A neglected patio or driveway can significantly detract from the overall appearance of your home and potentially impact its value.
Assessing Your Paver Type and Cleaning Needs
Before you even pick up a brush, it’s crucial to understand the type of pavers you have. Different materials (concrete, brick, natural stone) react differently to cleaning agents. Consider these factors:
- Material: Concrete pavers are generally more durable and easier to clean than natural stones like flagstone, which can be more porous and sensitive to harsh chemicals.
- Sealing: Sealed pavers are less prone to staining, but the sealant itself might need periodic cleaning or reapplication.
- Severity of the stains: A light dusting of dirt requires a different approach than stubborn oil stains or ingrained mildew.
Tools of the Trade: What You’ll Need

Cleaning pavers effectively requires the right tools. Here’s a list of essentials:
- Pressure washer: This is the workhorse for most paver cleaning projects. Consider the pressure and flow rate – higher pressure isn’t always better, as it can damage delicate pavers.
- Cleaning solution: Choose a cleaning solution appropriate for your paver type. For general dirt and grime, a mixture of water and a mild detergent might suffice. For tougher stains, consider a specialized paver cleaner.
- Stiff-bristled brush: A durable brush is essential for scrubbing stubborn stains and dirt from the crevices between pavers.
- Garden hose with a nozzle: Useful for pre-rinsing and post-rinsing the area.
- Safety gear: Always wear safety glasses and gloves to protect yourself from chemicals and flying debris.
- Optional: Rotary Scrubbing Attachment for your pressure washer: These can significantly reduce cleaning time, especially on larger areas.
The Cleaning Process: Step-by-Step

Now for the action! Here’s a step-by-step guide to cleaning your pavers:
- Pre-rinse: Use a garden hose to remove loose dirt and debris from the pavers.
- Apply cleaning solution: Mix your chosen cleaning solution according to the instructions and apply it evenly to the pavers. Allow it to dwell for the recommended time.
- Scrub: Use your stiff-bristled brush or pressure washer with a rotary scrub attachment to thoroughly scrub the pavers. Pay special attention to crevices and heavily stained areas.
- Rinse thoroughly: Rinse the pavers with clean water from your garden hose or pressure washer to remove all traces of the cleaning solution.
- Allow to dry: Let the pavers air dry completely. This can take several hours depending on weather conditions.
Dealing with Stubborn Stains

Some stains, like oil or rust, require more aggressive treatment. Here are a few strategies:
- Oil stains: Use a commercial oil stain remover or a mixture of baking soda and water. Scrub vigorously and rinse thoroughly.
- Rust stains: Commercial rust removers are effective, but always test them on a small inconspicuous area first. Oxalic acid solutions can also work well, but wear appropriate safety gear.
- Mildew and algae: Use a bleach solution (diluted with water) or a specialized mildew remover. Again, always test it on a small area first and wear safety gear.
Maintaining Your Pavers: Preventative Care
Cleaning your pavers is only half the battle. Regular maintenance will keep them looking their best for years to come:
- Regular sweeping: Sweep away leaves, debris, and dirt regularly to prevent buildup.
- Sealing: Consider sealing your pavers every few years to protect them from stains and damage. Choose a sealant appropriate for your paver type.
- Weed control: Address weeds promptly to prevent them from damaging your pavers and creating unsightly gaps.
By following these tips and investing in the right tools, you can keep your pavers clean, beautiful, and functioning optimally for years to come. Remember to always prioritize safety and choose cleaning solutions appropriate for your specific paver type. Happy scrubbing!